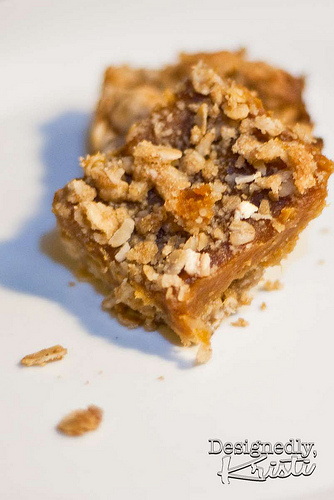
First Pass at Gluten Free Pumpkin Oatmeal Bars
Just before Christmas last year, after the completion of the large pumpkin butter canning for the giving of gifts, I created a bar cookie that made one of the largest splashes of any of my baked goods. While my good Minnesota farm upbringing taught me not to brag, that is saying something if I do say so myself.
I started with the Fruit Filled Oatmeal Bars in the ubiquitous red and white checkered Better Homes & Garden New Cookbook. Since I had an odd amount of pumpkin butter that didn’t fit in the canner I opted to use that as my filling rather than make any of their suggested fillings. It made for a great bar, especially for the holiday season with richness of the slow cooked pumpkin infused with all the yummy warm spices of the season - clove, cinnamon, a hint of ginger and nutmeg.
When I made the plum butter this year I pondered trying it in the bars, but Drew declared the pumpkin so good that I shouldn’t mess with it. I still think I’ll want to try some of my other fruit butters, but perhaps Drew’s insistence to not mess with it was a good idea.
I decided to make it with pumpkin before I ventured into other fruit butter territories, but I did not leave well enough alone. I have been playing a bit with alternative flours recently and looking at my bags of oat flour, brown rice flour and almond meal had my wheels spinning. Since the basis of these bars landed somewhere in the realm of apple crisp topping meets shortbread, I thought it would be an easy adaptation. Mind you, I kind of jumped in with my eyes open, but covered with my hands and just barely getting a peek of semi-recognizable shapes between the fingers.
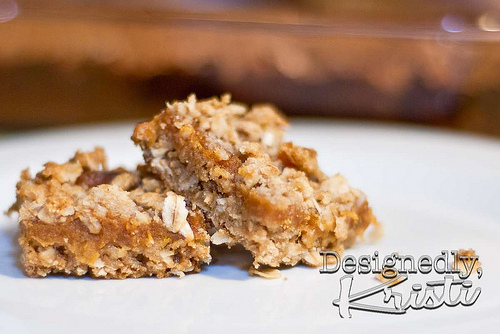
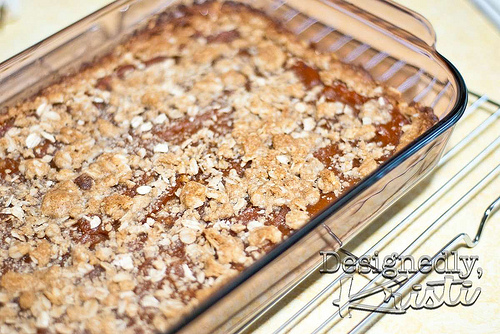
The results are tasty. Just not up to my usual standards. I forgot that the cranberry vision pans we have often require even less baking time than standard glass pans so the edges wound up a bit overly dark. It was the only type we had in the right size and I try to stay away from those pans because they have a tendency to make things look less appetizing in photos. If it hadn’t been for carryover cooking I don’t think you could have tasted the extra darkness, but the edge piece I tested wasn’t one of the darkest and there was a slight hint of burnt sugar to its flavor. So while I made them with the intention of Drew sharing them with the math graduate students today, they’ll be staying home with us. He insisted he would have no trouble finding them a home in his own stomach.
The other disappointment was their fragility. When I cast my mind back I’m pretty sure the original batch was not the most stable bar, but these require a bit more care when serving and eating them. A plate and fork seem mandatory (thus not terribly break room friendly). I’m assuming that is due to my less than thorough research into flour substitution before diving in. Oh and my inability to just use my bag of “gluten free all purpose flour” :-} What can I say, sometimes I get struck with an idea and run with it out of enthusiasm despite lack of time to both research and bake.
So, dear readers, especially those who are more practiced in the art of gluten free baking (Heather, Chris? *nudge* *nudge*), I’m guessing I should have included a starch of some type? But which kind and how much would you recommend? My first pass is below. Those not caring to have the bars gluten free, feel free to substitute regular AP flour in place of the total volume of flour and almond meal.
Not Quite There Yet Gluten Free Pumpkin Oatmeal Bars
makes 20-25 bars
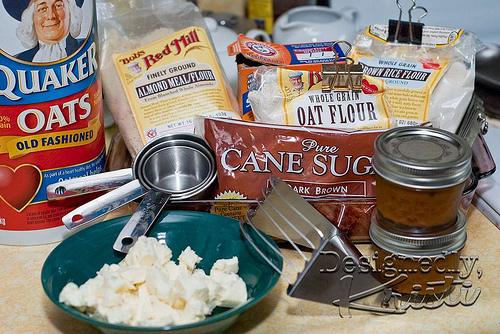
Ingredients
- 1 C Oatmeal*
- 1/2 C Brown Rice Flour*
- 1/4 C Oat Flour*
- 1/4 C Almond Meal*
- 2/3 C Brown Sugar, packed
- 1/4 t Baking Soda
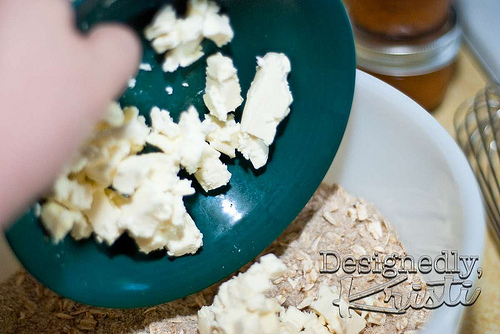
- 1/2 C Butter, diced and chilled
- 8 oz Pumpkin Butter
* As was pointed out to me in the comments, some of the ingredients pictured here are not certified gluten free. I was only baking for us and for me to learn a bit about working without wheat flours. If you are baking for someone who requires GF food, always be certain the ingredients are truly GF and not processed in a facility that also processes wheat and other gluten-containing grains.
Directions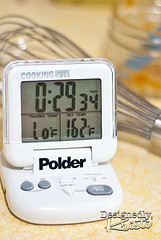
1. Cut butter into small pieces and chill while preparing the rest of the ingredients.
2. Preheat oven to 350 degrees (325 if you are using a glass or dark non-stick pan).
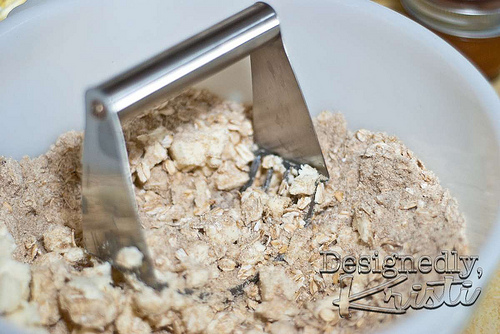
3. In a flat bottom mixing bowl, combine oats, flours, sugar and soda.
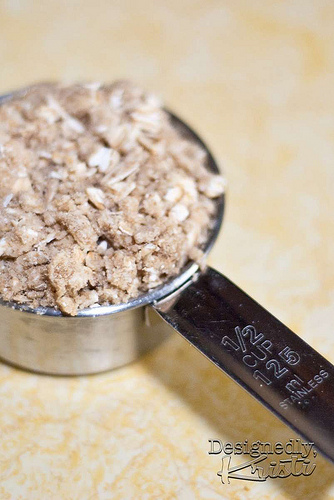
4. Using a pastry cutter, cut in butter until you have a nearly uniform coarse crumb mixture. Set aside 1/2 C of crumb.
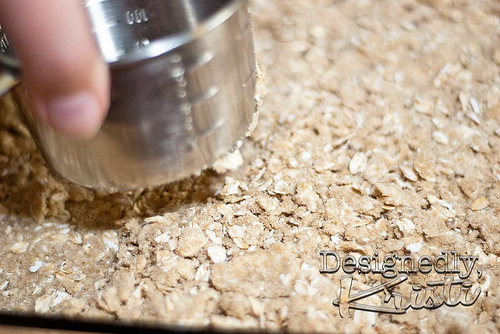
5. In an 11″ x 7″ (or 9″ x 9″) ungreased pan place rest of crumbs evenly. Using your hand or the bottom of a measuring cup or glass press mixture into an even layer on the bottom. A little can work up the sides.
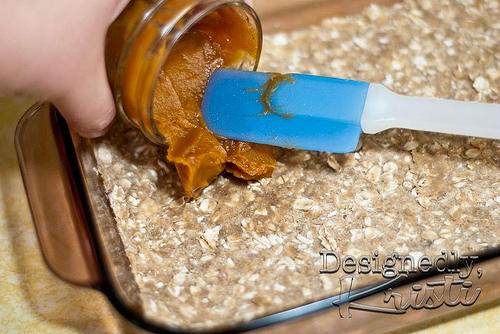
6. Spread pumpkin butter evenly over crust. Sprinkle with reserved crumb mixture.
7. Bake in for 30-35 minutes or until top crumb is golden brown. Cool on wire rack and cut into bars.
I was contemplating using teff flour rather than the almond meal, but I decided that was a bit too obscure to many. Instead I opted for flours I was able to get at either of my nearest regular grocery stores. It does seem I’m seeing teff around a bit more lately then when I was first trying to find teff flour, but I wouldn’t expect to be able to the flour just anywhere. Here I know Whole Foods has had it on the shelves and I’m thinking I’ve seen it at our local food co-op as well, though that could have been just the whole grain. On the second pass I may go that route anyway :-)