Carving 101
Cleaning up your Design
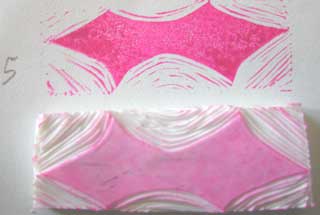
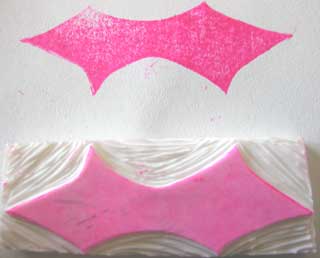
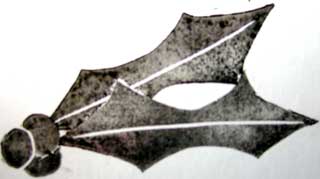
My 5th impression (above) was the first one with all the excess material removed. If you study it, you can still see the lines of the original shape of the carving material. Usually you do not want that, even if you want the primitive look. You probably want to clean up some of the stray marks, especially to remove that shape of the material. Use the test print ink that is on your carving material as a guide of where you want to remove material. You can also trim the carving material away from the design with your knife, similar to how you would trim your UM rubber stamps. Always keep a slope away from the design - do not undercut the image or you will sacrifice print quality of the image. This is the stage where I do find myself making several test prints to see what I have removed and what I have left. The following pictures illustrate this process
Finishing Touches for your Design
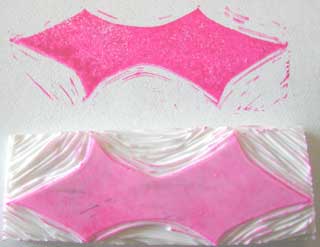
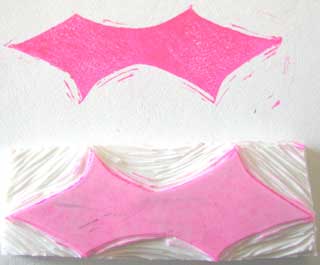
I am a clean carver. I don't often leave stray marks in my designs. I'm trying to learn to keep that look from time to time though. So, stop removing material once you have the look you like. I chose to remove the stray marks. To make it look more like a holly leaf, I added a central vein. I just freehanded it.
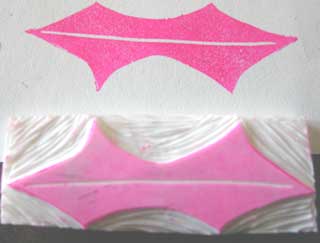
It is important to remember that once you remove carving material you can not put it back. So, before proceeding like I did above you may wish to use a white gel pen or a whiteout pen to play with your image on the scrap paper to be sure you want to remove more carving material.
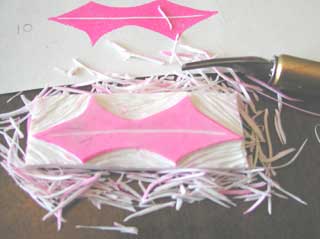
Now, you are done. You have yourself a nice looking test print and a ton of shavings that resemble grated parmesan cheese (especially if you used a Mars Staedtler Eraser, lol).
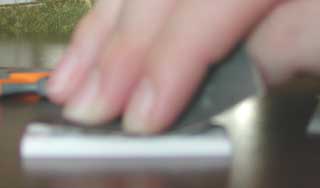
To prep your image for making official prints, you may wish to sand it lightly. I find this step necessary if I used the toner/acetone transfer method as the toner likes to cause many of the dye-based inks to bead up and create odd patterns in the solid areas when you print it.
Another way of prepping the image is to stamp it with a permanent/archival ink. I like to use the Graphite Black Brilliance ink pad. Many feel this ink helps the stamp take other inks well. I like to make an index stamp that I scan and catalog. I note the carving material I used, the source of the design and the date I carved it.
For the image below, I used the holly leaf twice and a berry stamp I made and masks. I chose to carve the berries separate from the leaf so I have more versatility. I can make corner decorators or a wreath or whatever my muse tells me to do :-)
< Go Back to Carving your Design :: Continue on to Additional Tips & Resources >