Slipper KAL: Vamp Set-Up
Now that we figured out how to determine the body of the slipper length before beginning the vamp, it is time to set up for the vamp and toe. We are sooo close to a finished slipper!
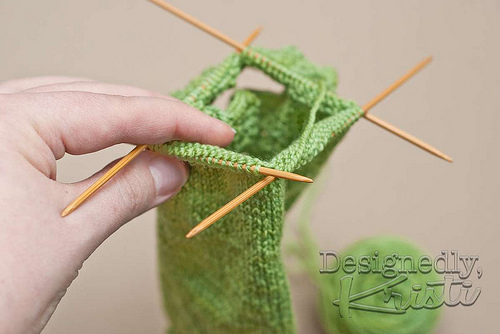
One trick that didn’t make it into the patterns is to not bother with waste yarn or stitch holders to set aside the body stitches of the slipper. Instead, I just leave those stitches on the circular needle I was working on and then work the edging extensions - be it the aspen leaf lace for Pemberley or the ribbing for Masala on DPNs. Once you’ve knit the extension of the edging as directed in the pattern you’ll move those body stitches to DPNs.
For Pemberley, where the two DPNs meet will become the start of round once the set-up is complete. For Masala, we don’t want to mess up the fair isle stitch pattern so the start of round for that will occur at a corner of the vamp instead. Unfortunately ones body only endures so much knitting in a day and I am not up to the vamp set up on my Masala so I can’t show you the step-by-step on that one at this point. But the general process is very similar so hopefully seeing it on Pemberley will still prove useful for you Masala knitters.
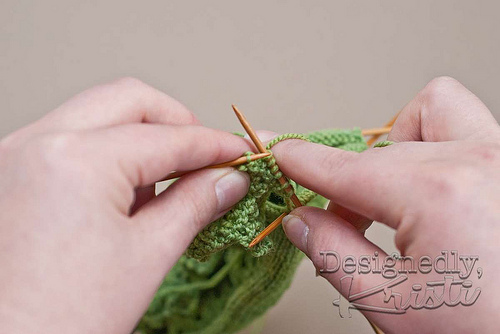
Once you get to the top of the foot area you’ll pick up and knit stitches along the edging extension. The method of picking up and knitting the stitches will be the same as for along the heel flap. With Pemberley though you will not have two stockinette stitches next to each other. You’ll have 1 stockinette selvedge stitch next to garter stitch. But you’ll still be picking up and working the bar between the first two stitches.
For Masala you’ll pick up one stitch per row in the extension along the edge that has two stockinette stitches next to each other. With the narrowness of this edging be extra careful to make sure you aren’t twisting the edging. If you do twist it, don’t sweat it. Just pull out all the stitches you picked up and give it another go. It is just knitting and can be redone. Just tug on the edging a bit to reseat the stitches before giving it another go. If it looks like you may have a gap, go ahead and pick up 1 extra stitch at each corner and decrease them away in the next round. I’d probably work the extra stitches in the CC and decrease it with the CC line at the corners.
For Pemberley the rate of picking up stitches will vary depending upon the size you are working. The easiest way to evenly distribute the stitches is to mark the half way point of the edging extension and pick up half the stitches on each half. Like Masala, if needed go ahead and pick up an extra stitch at the corners and decrease them away on the next round.

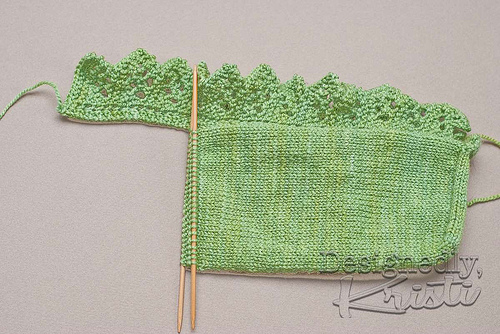
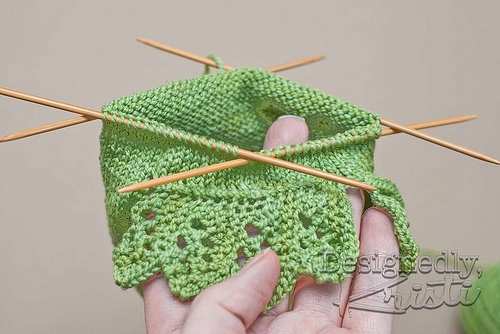
Like at the heel flap, look at your knitting as you pick up and work the stitches and to make sure you are picking up in a straight line. Above is what it looks like once all the stitches have been picked up along the edging extension. You’ll note the stitches are on only 3 DPNs. You’ll work some more stitches to redistribute them evenly on 4 DPNs. For Pemberley you’ll also get situated to the new start of round at the center of the sole.
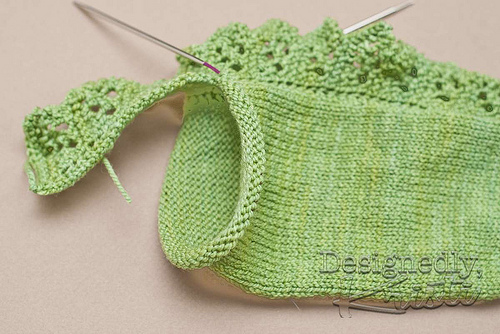
Here is a look at the start of round immediately following the vamp set up.
The rest of the slipper is now easy. You knit in the round until the vamp measures the length in the pattern or the length you calculated when customizing the slipper length. Then you work the toe.
This is Pemberley with about 3/4″ of vamp worked so far. There are just a few more rounds to go before starting the toe shaping.
The toe shaping for Pemberley is much like the crown of a hat. Simply follow the instructions in the pattern.
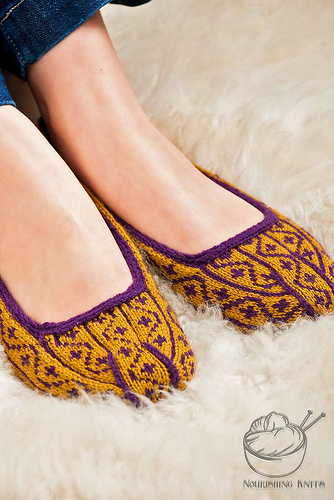
The toe shaping for Masala is just like a wedge toe, but it has been rotated so the “wedge” is on the top and bottom of the toes instead of along the sides of the toes. The width of the wedge has also been extended to contain 1 full repeat plus 1 stitch. To maximize size customization the toe is not charted out separately. By this point you should have a good feeling for the pattern, so the instructions tell you to decrease in pattern with detail given for the placement and color to work the decreases to keep the strong, bold pattern of the toe.
If you look at the toes in the above photo you’ll note how the two central lines in CC get a bit bolder at the toe. That is because the decreases are taking place along those lines which makes them more prominent.
In the next KAL post I’ll answer a few questions that have come in and discuss a few options for modifications/customizations. If you have questions, please ask them in the comments or over in the Ravelry thread.