Prepping Photos for Carving Using Adobe Photoshop 6.0
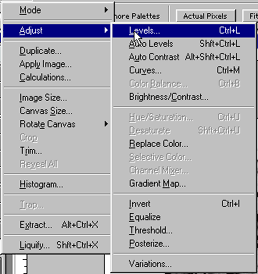
Now, we can adjust the levels by choosing Image > Adjust > Levels (Ctl + L).
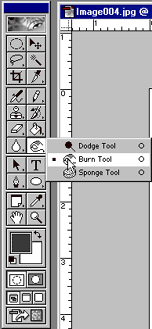
You can use the Burn Tool to darken certain details. Going over it successively will darken areas more.
![]()
You can use the Dodge Tool to lighten certain details. Going over it successively will lighten the areas more.
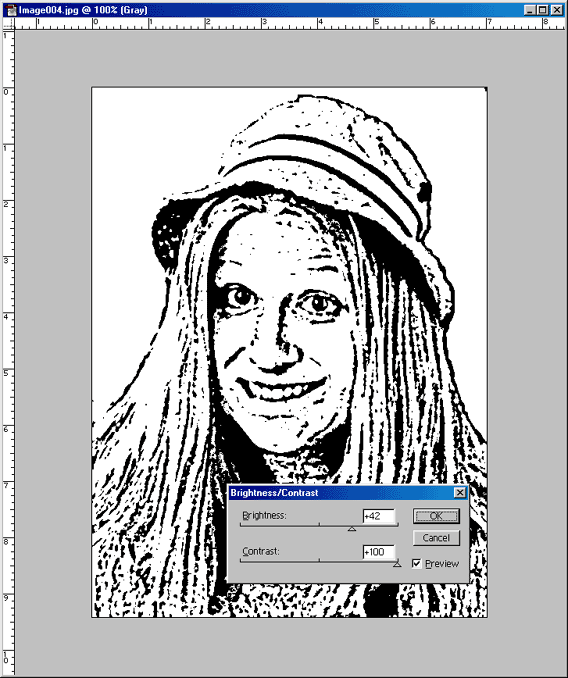
At the end, you need to adjust the contrast all the way up to +100 to remove the grey areas. You can adjust the brightness to bring out or remove features. If you are advanced, you can select certain areas and adjust them separately and then flatten the image at the end.